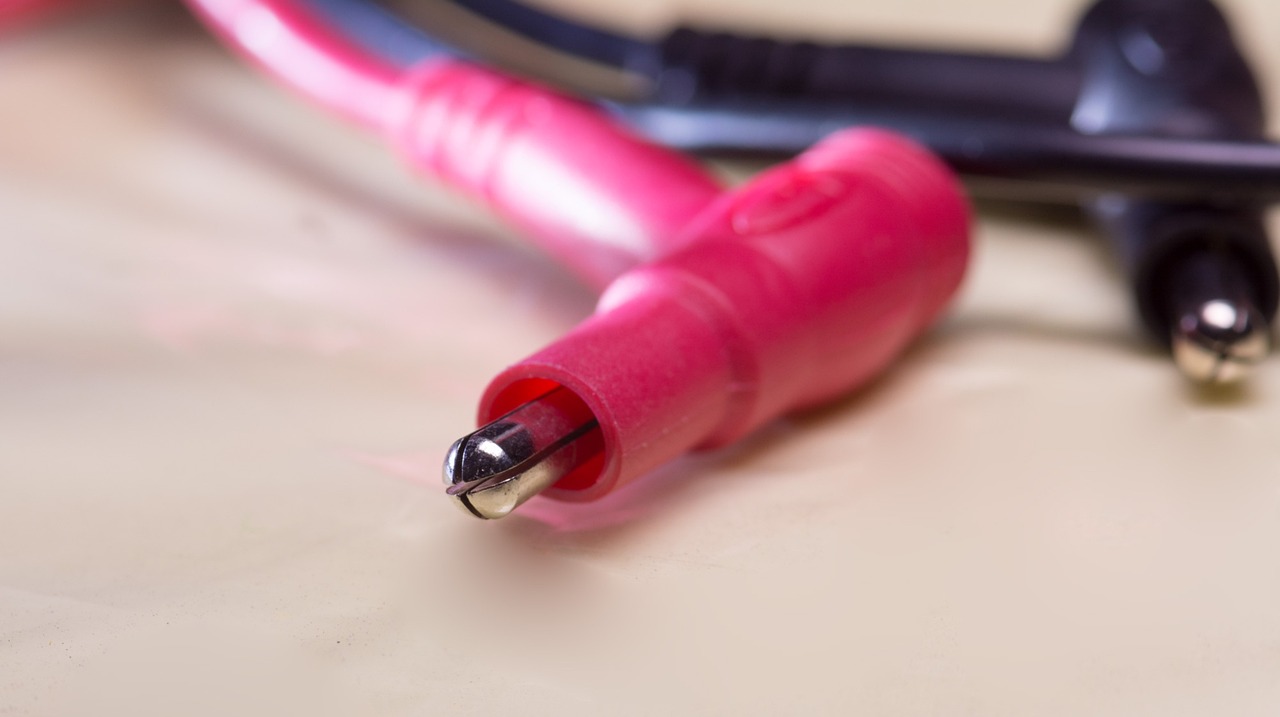
Putting together a homemade cable TV tester can take as little as fifteen minutes. In fact, it will probably take longer to assemble the equipment.
Required Tools and Materials
- Network cable (4 ft with caps)
- Light bulbs with wire,
- 1 battery (9 volts or numerous AAs)
- Network wall jack Wire strippers.
Instructions
Slice the network cable so there are 12 inches at each cap end. This is needed for inserting into the network socket.
This can also be utilized for CAT 3 or 5. Use the wire stripper to strip the network cable’s last part (the cut). For this homemade cable TV tester, the solid and striped colors must be separated.
The colored wires will be used as the leads for the bulbs. Get the light bulbs and link each one to the stripped cable end. The solid wire will be the terminal.
Remember that the ratio for wires and light bulbs needs to be 2 to 1. That is, for every six strands there needs to be three bulbs.
Note: if you’re going to use the capped network cable, link the female wall adapter to the skinned wires. There will be screws in the rear for the wires.
Usually, there are four pairings. Splice the wires for this homemade cable TV tester. When it’s done put plenty of electrical tape around it. Put enough so they don’t make contact with each other.
Connecting to the Battery and Testing Link the colored wires to the other positive terminal at the battery. Connect the striped wires on the negative side.
If you’re utilizing the female jacks, link the wires from another female adapter. The wires will light if the cable is inserted into a jack and the battery is set into the terminating lead of the jack. If all the lights go on, the cable is okay.
If one or more don’t, there could be a problem with the cable. That is how a homemade cable TV tester is used to determine cable quality.
Checking Cables for Damage or Defects
Make sure the cable you’re testing is not in conflict with other cables. Keep other cables away when testing one cable. Other cables might generate their own electricity. These electric signals might affect the tester.
The end results are false readings and information. Look at the cable before testing it. Check the connectors and look for any tears or physical defects.
Tips and Warnings
Check all connections to make sure they’re in the right place. Put some soldering iron if necessary. Don’t try the tester until all the parts have been assembled.
Be careful when handling wires and cables. Take care not to damage the wire when you are using the wire strippers. Double-check the batteries to make sure they’re working properly.
If you’re using AA batteries, ensure that they are linked correctly. Double-check the wires and if they’re connected to the right battery terminals. Making this homemade cable TV tester actually is less complicated than it seems.
By following these guidelines, you can check the cables for defects quite easily.

